Build Diagrams with PlantUML
This is part of a series creating around PlantUML and Diagrams as Code.
- Authoring Plant UML files in Visual Studio Code (This Post)
- Creating Image file from PlantUML using command line
- Creating Pipeline to build and check-in Diagrams as Code
- Optimise the Pipeline
Build Diagrams – PlantUML
So in the previous post we looked at Mermaid diagrams which are built into Azure DevOps Wiki. This is a great low friction way to include diagrams if you haven’t read the tip head over to https://azuredevops.tips/2020/03/01/wiki-mermaid-diagrams/. PlantUML is a different diagramming language, which enables you to have custom icons. You may be new to PlantUML so lets start there, we won’t be using AzureDevOps in this tip but I will show you PlantUML using AzureDevOps Icons to help you document your Pipelines. In the next post you I will show you how to use PLantUML in Azure DevOps.
Lets get started started
You can use any text editor to create PlantUML diagram, Visual Studio Code has a extension to help you see the Diagram in VSCode.
Step 1 – Install VS Code
https://code.visualstudio.com/
Step 2 – Install Extension
https://marketplace.visualstudio.com/items?itemName=jebbs.plantuml
Prerequisites for PlantUML extension is to make sure you have Java installed.
Step 3 – Install Java SDK
The Visual Studio Code uses plantuml.jar to create the images so if you don’t please install Java see link below, if you have it already continue to Step 4. https://www.java.com/en/download/
Set the environment variable to the java path

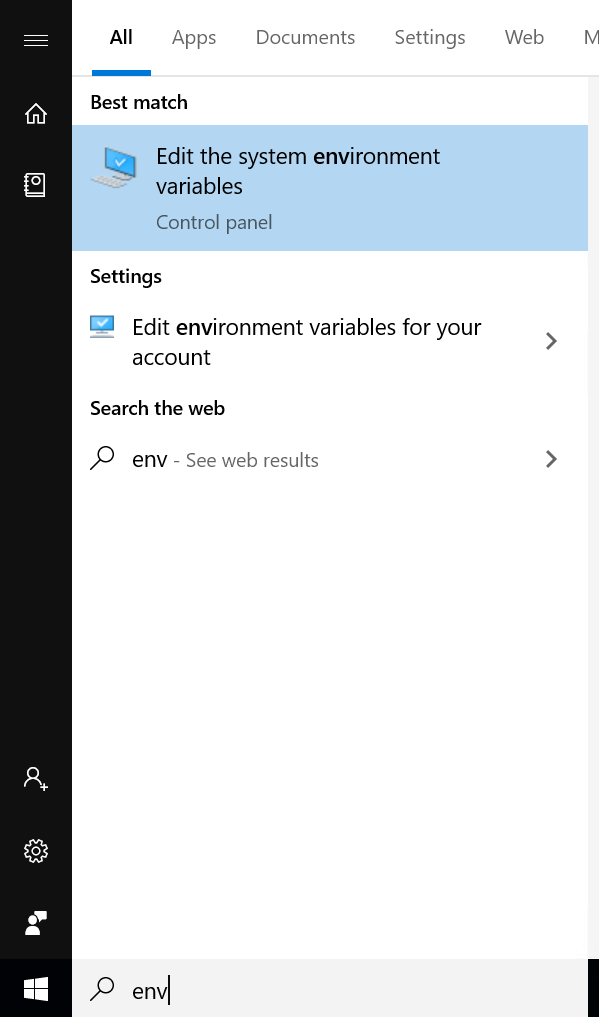
Windows Start then type Env. Select Edit System Enviroments

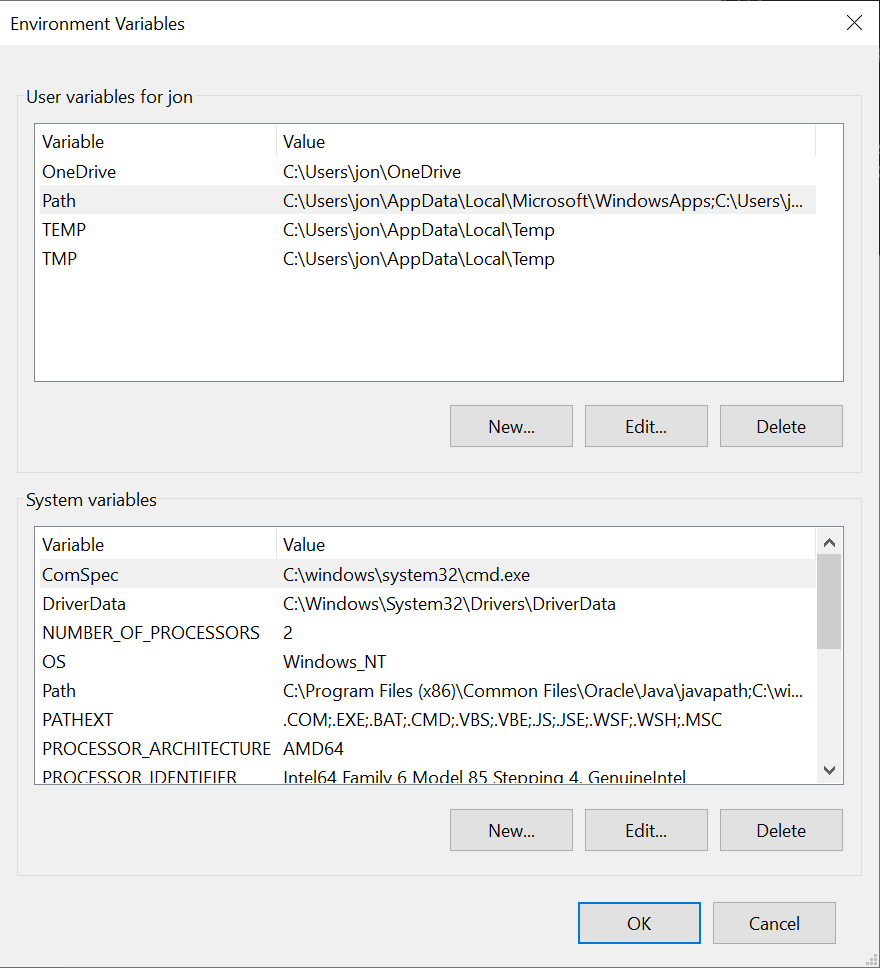
Click Edit on Path

Click New Add Path for Java To check what you have done has worked command line and type in Java and you should get the Java Command Line Help.
Step 4 – Install GraphViz
https://graphviz.gitlab.io/_pages/Download/Download_windows.html Install this.
Step 5 – Create a new file for example diagram.puml
Open up Visual Code and create new file.
| |
Once you created the file, with the syntax above, the press Alt+D or Ctrl+Alt+P and type > PlantUML: Preview Current Diagram.
 You should see something like the below.

Step 6 – Use Library
Ricardo Niepel has created some PlantUML libraries that extend PlantUML.
| |
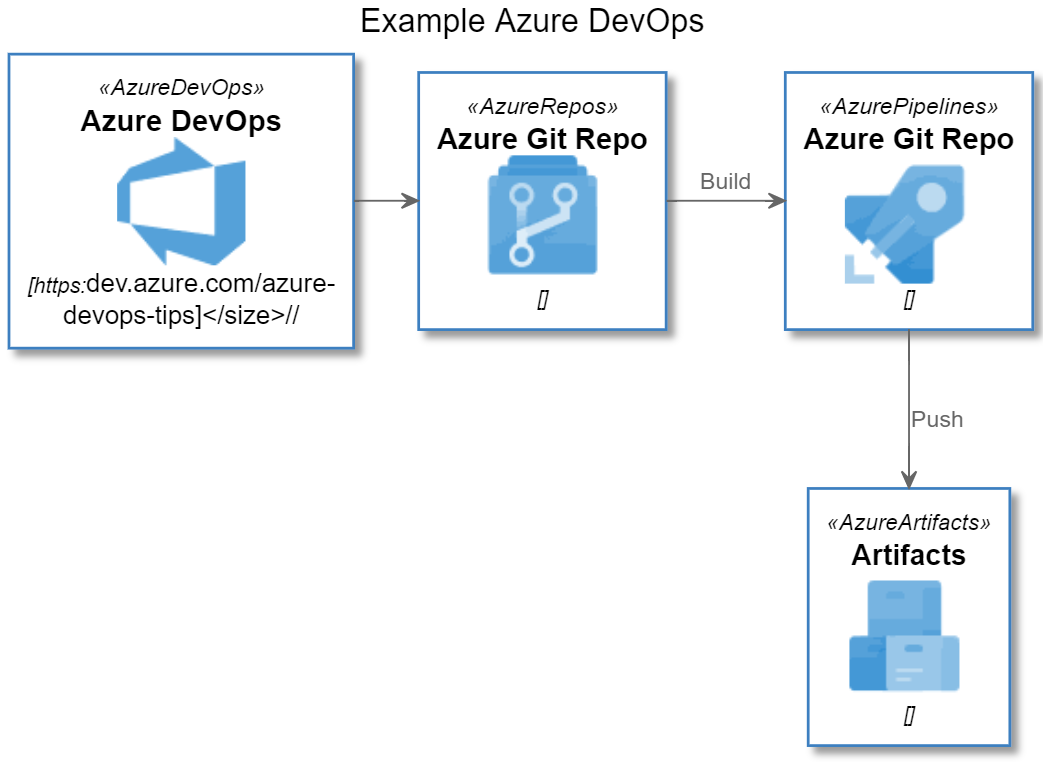
Below is the output of the PlantUML from above.

| |
The above syntax is how you start and end the PlantUML syntax.
| |
The !define statement helps you define a url to the style library
| |
The !includeurl statement defines the library. If you want to see all the icons available for this particular library head to https://github.com/RicardoNiepel/Azure-PlantUML/blob/master/AzureSymbols.md.
| |
AzureDevOps is the name of the icon you want to display. It takes three parameter:

| |
Then you use the object reference to create the relationships between each icon.
